Make Your Own Container Garden with Hypertufa!
Thousands of blooming bulbs have come to the Dallas Arboretum for Dallas Blooms, A World of Flowers, presented by IBERIABANK, and they have visitors and employees alike eager to refresh their home gardens or create a showy new corner. One of the most versatile ways to do this is with a container garden, but if you’ve been to your garden center lately, you probably noticed that containers can be quite expensive! So in this hands-on project, you’ll create your own container garden using hypertufa, a much more affordable option.
What is hypertufa?
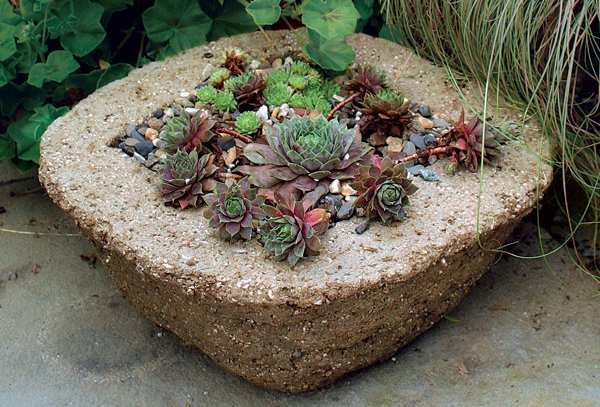
Hypertufa comes from the word tufa, a natural volcanic rock, and hyper, a prefix meaning extremely; thus, hypertufa means extremely rocklike. In essence, hypertufa pots are meant to mimic carved stone planters – but with a much lower cost.
Recipes can vary based on the source, and I’ve tried quite a few – it’s pretty difficult to mess it up, but here is my favorite mix:
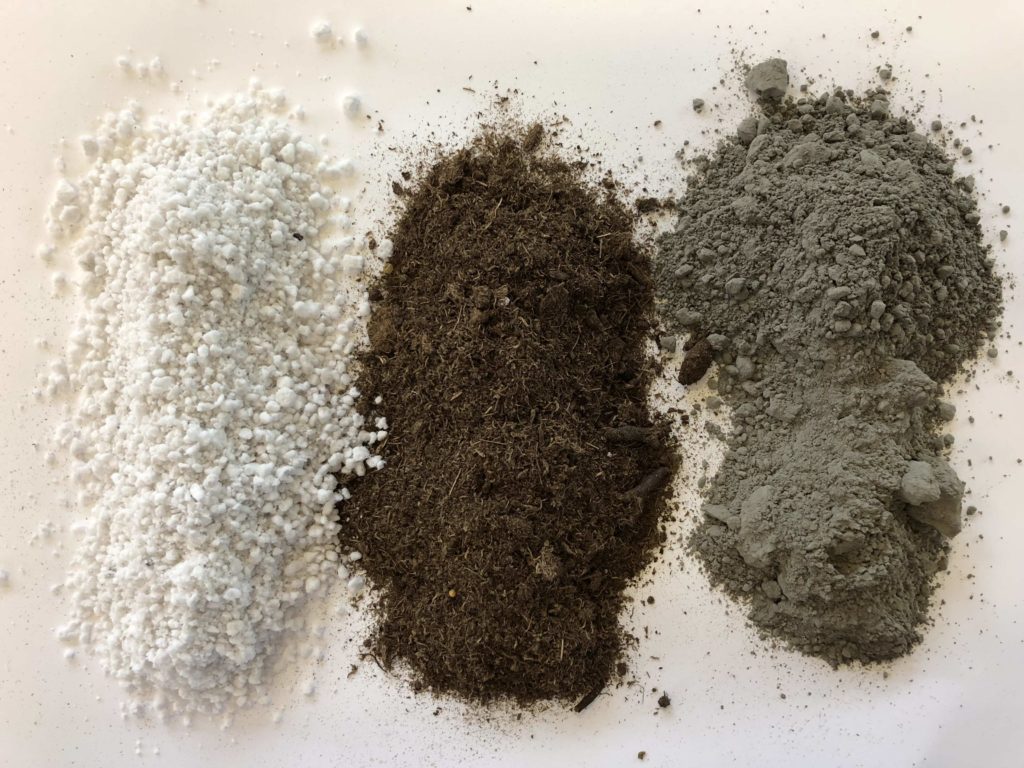
1 part perlite (the white foam you find in commercial potting soils)
1 part peat moss
1 part Portland cement
1 part water; added slowly
Equal parts perlite, peat moss and Portland cement.
I must warn you, Portland cement only comes in very heavy bags (at least 80 pounds) so be sure to have someone around to help if you shouldn’t be lifting that much weight.
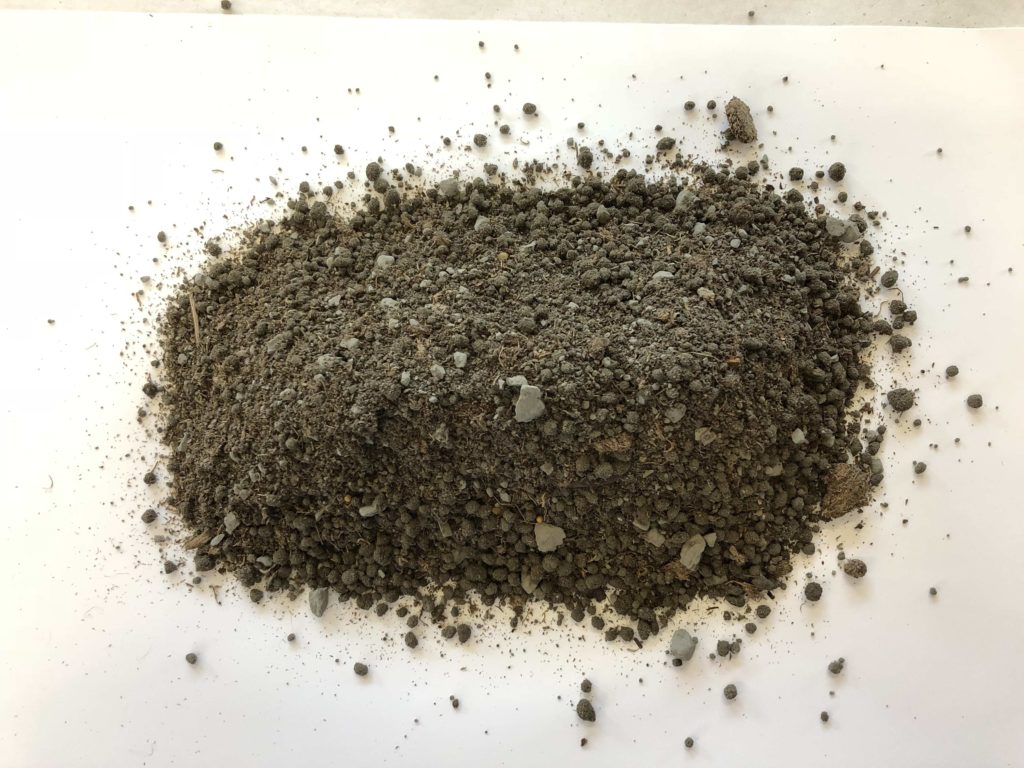
Simply mix the three dry ingredients together so that they are equally distributed throughout the mix. You need to wear eye protection, a dust mask and gloves during this process. Your lungs will thank you.
Dry hypertufa mix.
Have a small bucket of water available and set the dry mix aside. Now you’re ready to plan your container shape.
Shaping your Container
Just as there are a large number of hypertufa recipes, there are endless options for the shape of your container.
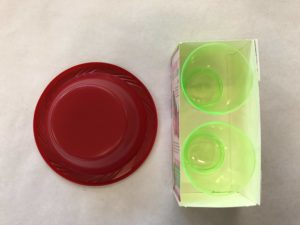
One popular method is to use old plastic or metal containers. A quick spray of cooking oil makes removing the hypertufa pot a cinch when you have finished your piece.
Simply choose two containers: one that will serve as the outside of your pot, and one that you will press into the hypertufa mixture to set the inside shape.
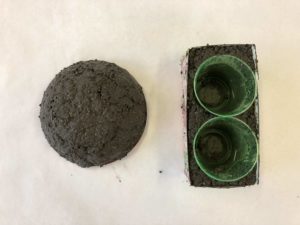
Another method is freeforming around one container. In this method, you use the outside of the container and shape the hypertufa mix around it. It creates a smooth inside look and a more natural, unfinished look on the outside.
My preferred method, though, is to create my own mold using old juice cartons (you can also buy new, unused ones online). In this method, you have complete control in the shape and size of your container. You can create a second insert that will help press the inside shape – or you can just freeform.
There really isn’t a wrong container as long as long as it is flexible or can be torn away when the hypertufa dries.
Adding Water to the Mix
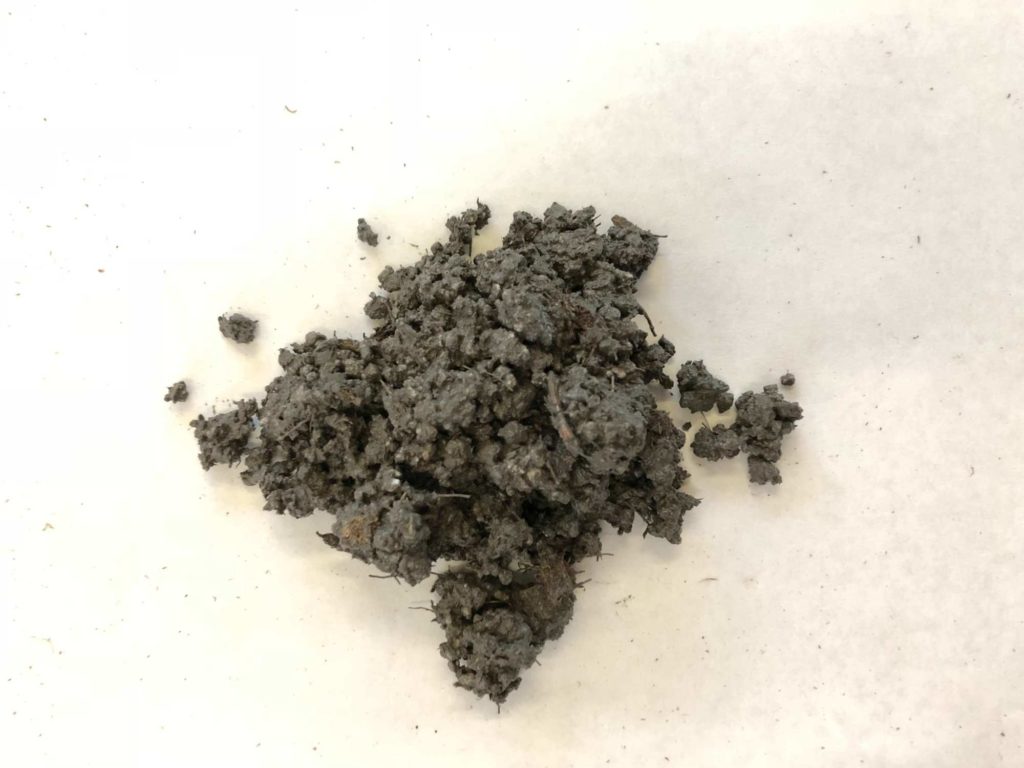
Once you’ve pre-mixed the dry ingredients and you have your container(s) ready to go, the next step is to slowly add water to your mix. Add water until the mixture reaches the consistency of cottage cheese. Squeeze it in your hand as you mix; it should hold together and drip just a bit of water. Once you have reached this texture, comes the hardest part. Let it rest for 5-10 minutes. This allows the mixture to set up and you may notice a little heat and a new, Earthy odor. It is now ready to shape.
Wet hypertufa mix should have the texture of cottage cheese.
Use any of the methods detailed above and create your container!
As you add the mixture to your containers, a rubber mallet can be used to tap around the edges – this helps the hypertufa to settle and removes any large air bubbles.
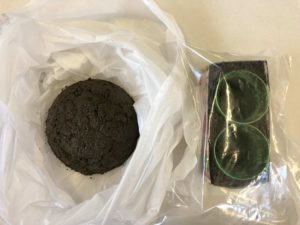
Once you have finished, cover the entire container in a plastic bag. This slows down the drying process, which will add strength to the container. After a day or two, the hypertufa will be dry enough that you can remove the mold. This is a great time to add a drainage hole or smooth out any imperfections. If you’re not sure, leave it longer. It won’t hurt it and actually produces a stronger pot.
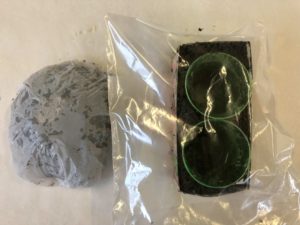
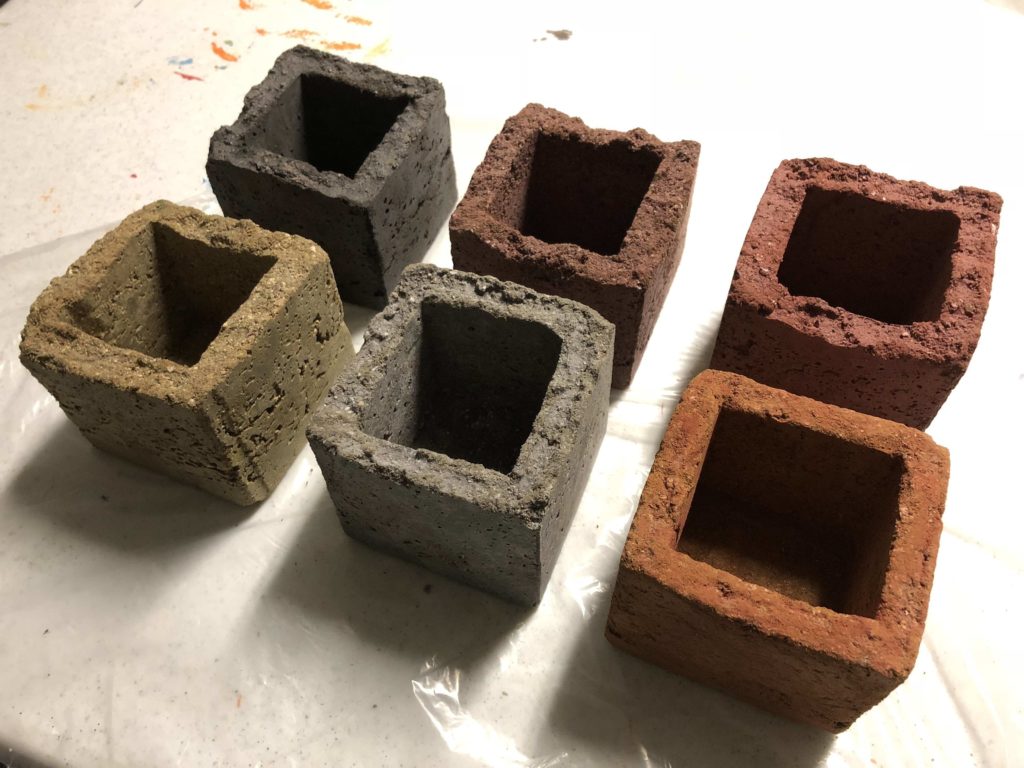
You can then remove the bag and the mold. Now you need to allow it to dry in a cool, dry place for several weeks. This drying time varies greatly depending on your hypertufa mix and the weather conditions. The pot will cure to a light gray color, but you can always add powder cement pigments to your water if you want to spice things up a bit!
Options are endless with powdered cement pigment.
You’ll want to fill your hypertufa container with water for several weeks to allow the lime from the cement to leach out before you plant in the container.
Hypertufa Design Ideas
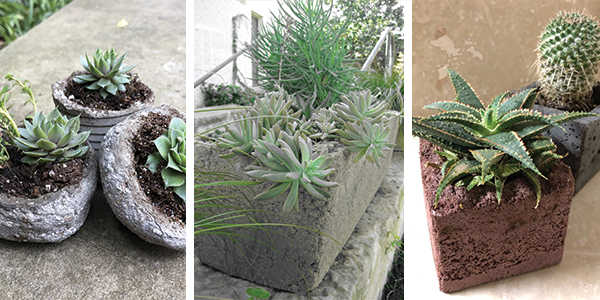
Once you make your first pot, you’re bound to be inspired to try other methods. Some intriguing shapes and textures can be crafted using found objects like bubble wrap, bamboo or even glass beads. Hypertufa pots are surprisingly lightweight, so you’ll find that you can use them just about anywhere. You can even add rubber feet and use them as accent pieces indoors (just don’t drill that drainage hole – and water in a sink).
When used outdoors, hypertufa pots will attract moss and lichens, too.
Dustin Miller
Director of Education
Additional Resources
Martha Stewart
Lowe’s Step-by-Step instructions
Fine Gardening Hypertufa article
Related Posts
Comments are closed.


