DIY Hydroponics: It Really is This Easy!
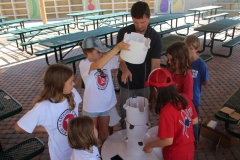
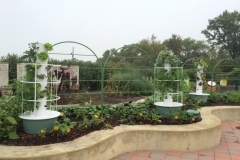
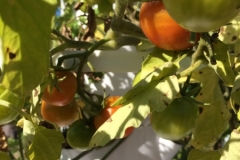
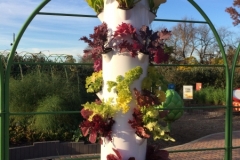
During your last visit to the Rory Meyers Children’s Adventure Garden did you notice the hydroponic towers in the Incredible Edible gallery? Installed in 2015 as part of an educational partnership with The Lamplighter School’s 4th grade classes, these three towers have provided hands-on learning to hundreds of students, as well as a variety of greens, beans, squash, tomatoes and herbs throughout most of the year!
Hydroponics in the Children’s Adventure Garden
As the practice of hydroponics continues to expand in popularity, leading to more requests from teachers hoping to learn about it and how to use its powerful connection with STEM topics, our education team has also produced teacher workshops with more cost effective techniques in hydroponics. You can literally build a system with all new parts for $20, but for this month’s blog, I wanted to challenge myself to spend even less.
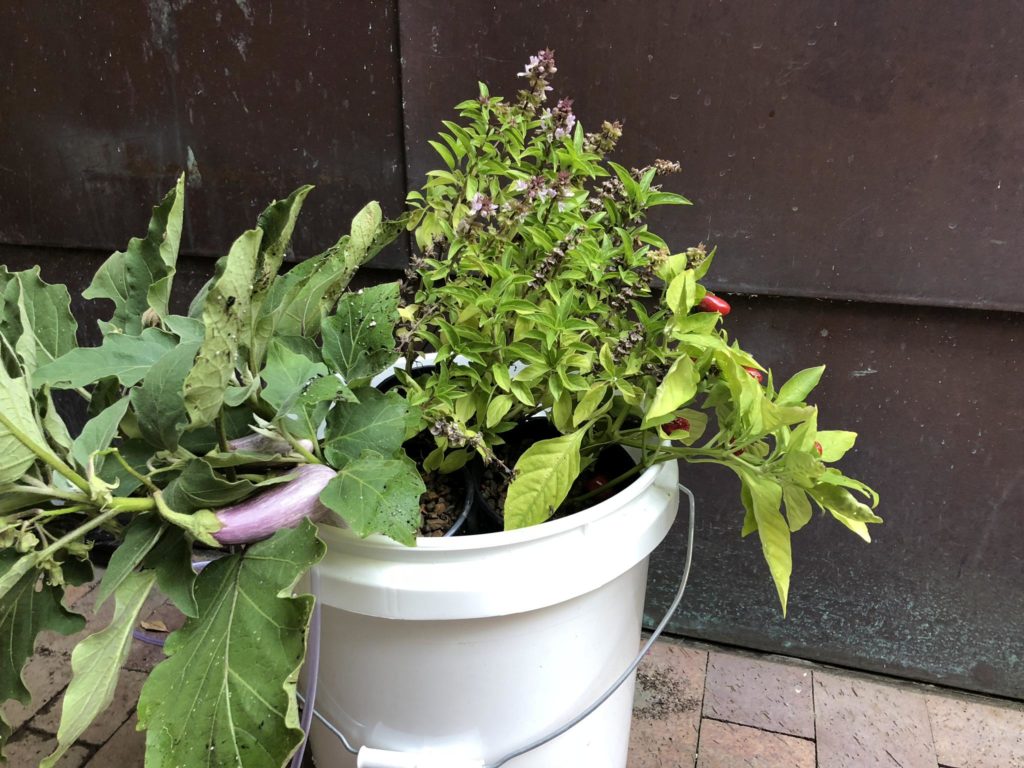
For this system, I scavenged used or landfill-destined equipment – most of which you should easily be able to find around the home or office. So, why not beat the August heat by spending an afternoon making your own hydroponic system and you’ll have produce to harvest by the end of September!
Getting Started
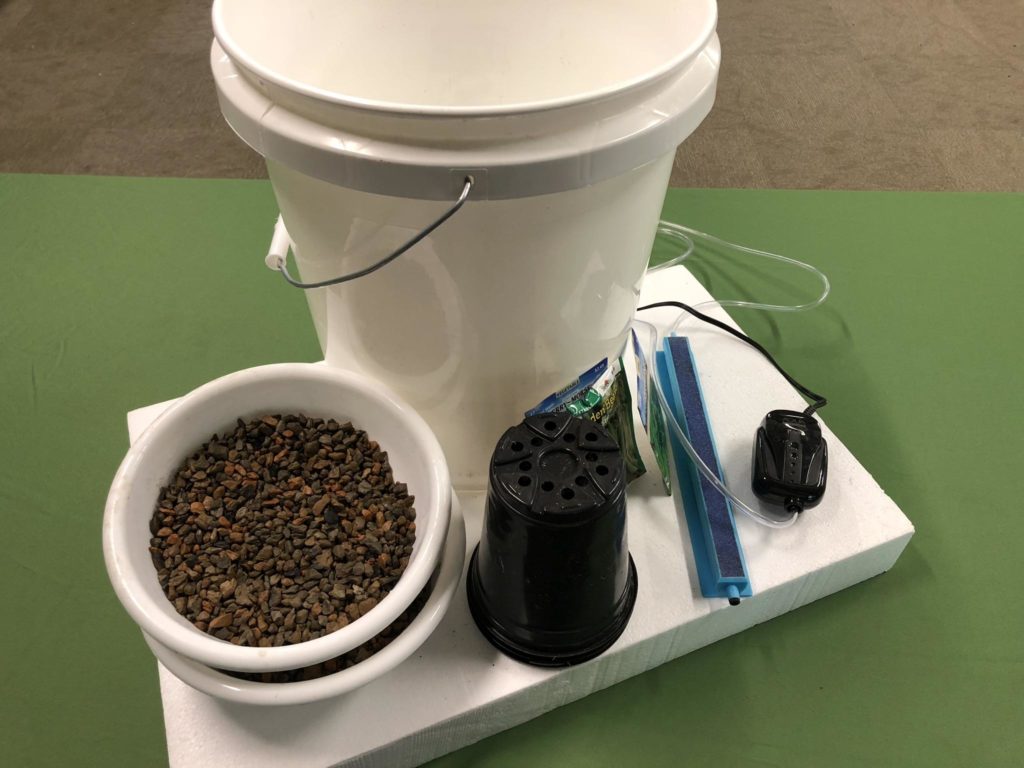
Here is the basic list of supplies that you’ll need to build your system, but know that many of these items can be swapped out for a similar piece that you find around your garage or office.
- Plastic bucket – Be sure to thoroughly rinse if it previously contained something like pool chemicals, and consider bleaching to reduce the chance of exposing your plants to diseases.
- Sheet of Styrofoam – The kind that is used to line the wall of cardboard boxes for shipping is great!
- Plastic containers – Something like a red drink cup or plant nursery container
- An aquarium pump and bubbler – This is essential to keep the water moving and healthily aerated.
- Seeds for planting – Even dried lima beans from the pantry will work!
Less Common Items (AKA order ahead of time):
- A growing medium for the plants
- Expanded clay pebbles from an old orchid planter, vermiculite or perlite (the white foamy part in potting soil) or expanded shale all work well.
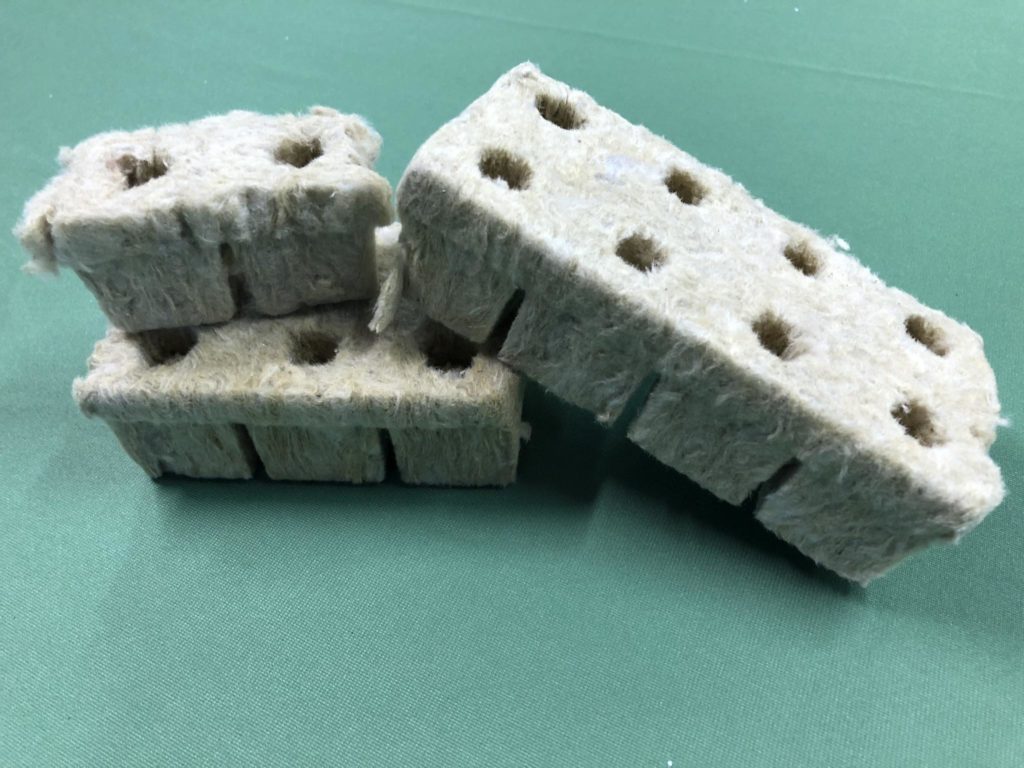
- You can also purchase Rockwool online for cheap and it is the ideal growing medium!
- Liquid hydroponic fertilizer – These always come as 2 containers that you mix into the water – there are a ton of options, so visit a hydroponic shop (Dallas has a few to choose from!) or order online.
The tools you’ll need:
- A utility blade or pocket knife
- A home soldering iron, electric drill or an awl
Preparing the Raft
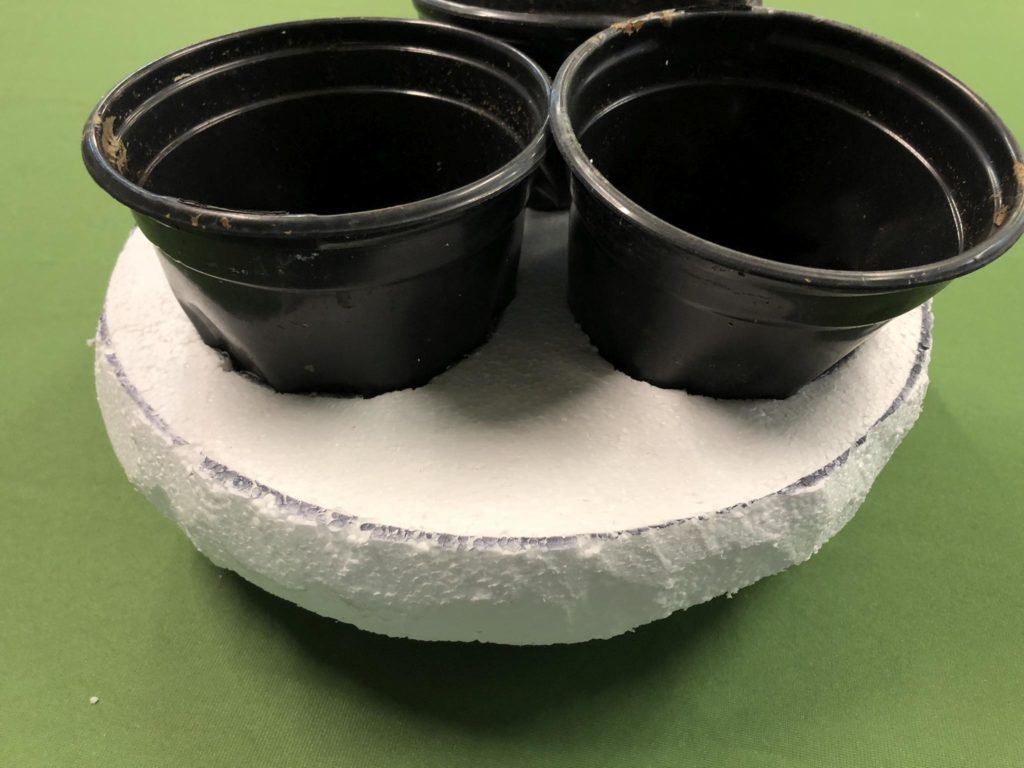
You may see some homemade hydroponic systems online that have a plastic lid that holds the plant containers, and we’ve created many this way at the garden, but this version uses reclaimed Styrofoam. Firstly, buckets don’t always have lids (or they crack as you try to pry them off the container), but the foam ensures that your plants will always have access to water. When they are placed on a fixed plastic lid, you have to keep the water full until the plants’ roots grow sufficiently to reach down into the water, but with a floating top, they’ll always be at the right level. Styrofoam is also incredibly buoyant, so it can support the weight of plants as they grow – even tomatoes and peppers!
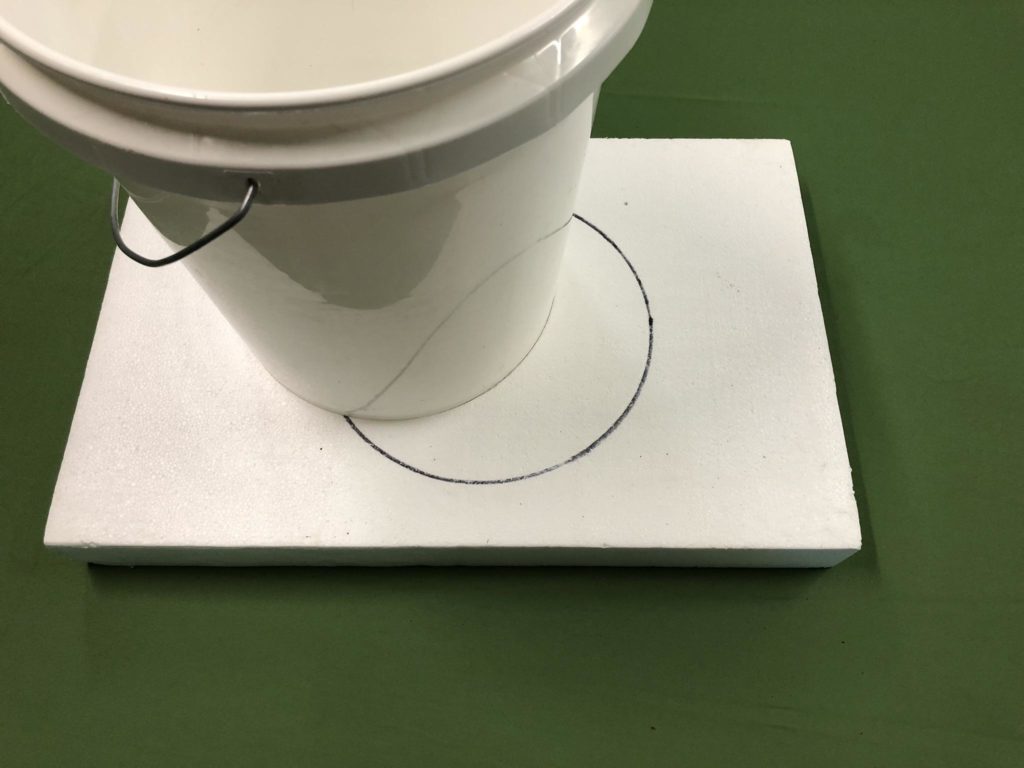
You’ll want the foam piece to be slightly smaller than the opening of the bucket. This is easily achieved by tracing the bottom of the bucket (which is almost always more narrow).
Once you have the shape, use the appropriate tool to cut the thickness of foam that you’re using (and keep safety in mind if the kids are helping with this step).
Now that you’ve created the raft, you’ll need to create holes to hold your chosen planting containers. If you’d like to grow greens or herbs, your system will be able to support more (3-5 plants), but if you’re doing larger plants, I’d keep it to 1-2.
Again, if the base of your planting containers is smaller than the lip, you can use them as a guide, but the key here is to ensure the containers hang through the holes in the Styrofoam while fitting snugly enough that they don’t fall through.
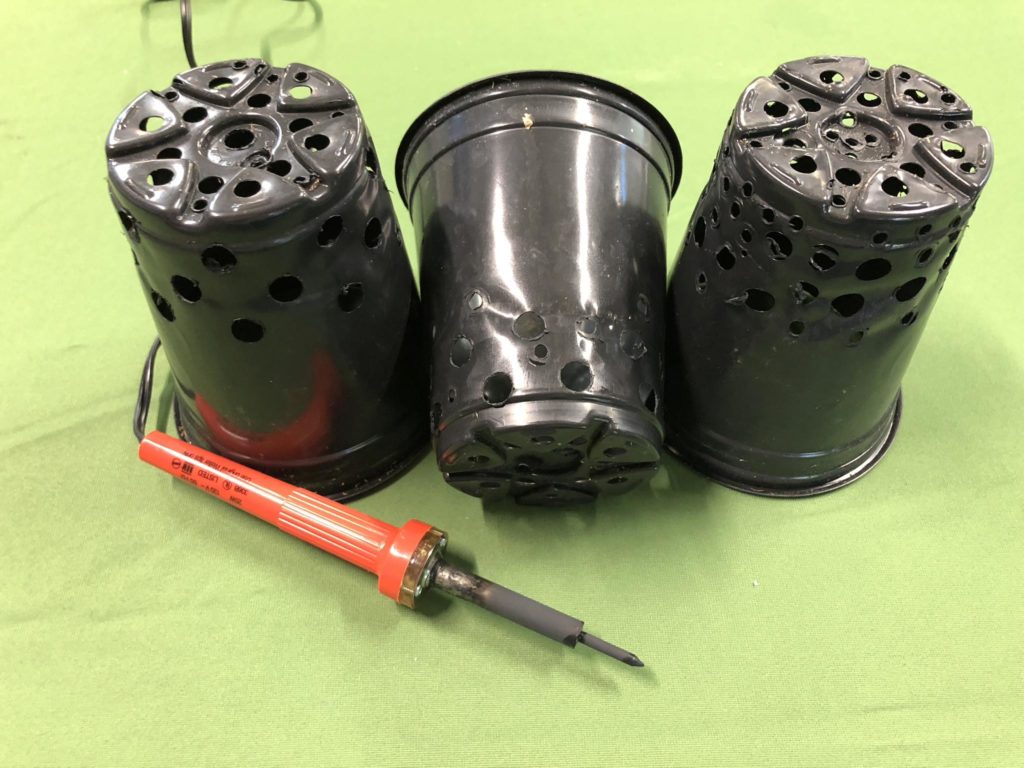
You’ll want to create many small openings in the lower half of the planting containers to allow ample water flow through the roots. I used a small home soldering iron, outdoors and with a mask, but you could use an awl or screwdriver depending on the thickness of the containers you are using.
Planting
Once you have placed the smaller containers into the foam raft, you are ready to plant. Again, there are a variety of options. What is essential in this part is that the seeds and, eventually, the roots have something to hold them in place. Of course, once the roots grow sufficiently, the pot in which they are growing, as well as the mass of the roots in the water will hold them in place once they’ve grown.
The easiest material to start seeds in is Rockwool, a woven matrix of minerals similar to steel wool. It holds it shapes and provides support without breaking down. You can also use a mixture of perlite and vermiculite (both available at garden centers). These are all very lightweight, too, which will ensure that your raft floats well. There are a variety of other materials available at hydroponic stores or online, as well.
For this construction, I used expanded shale, a product that we use throughout the garden in soggy areas following heavy rains or large public events.
Don’t feel like starting from seed? You can also buy small plants or seedlings, rinse them well to remove all soil, and plant them in the growing medium of your choice. Large plants may require some root trimming – plus, it will encourage new roots to grow through the container openings.
Watering and Feeding
The amount of water your system uses will vary based on the size of your plants and the temperature. In short, fill it as needed. What is important is that the roots are always submerged.
There are a variety of plant foods available for hydroponics, and you’ll just want to buy this rather than try to make your own. You may also be tempted to use a traditional liquid plant food that you spray on the garden outside, but don’t – it is not formulated for hydroponics!
The last step is to add an aquarium pump with a bubbler stone. The bubbler should always be submerged, and you’ll want to protect the motor from water if you’re keeping your planter outdoors. Its purpose is to oxygenate the water, which will keep it fresh and clean and free of odors.
Additional Resources:
5 Gallon Bucket Deep Water System
Living Towers brand hydroponics (seedlings and systems)
Modern Steader blog Hydroponic lesson plans
Pumpless Hydroponics
Harvests in the Children’s Adventure Garden
That is all there is to it – an easy August afternoon project for the whole family or a great back to school team-building project that can be used to teach about life and earth science throughout the school year!
Dustin Miller
Director of Education
Related Posts
Comments are closed.


